
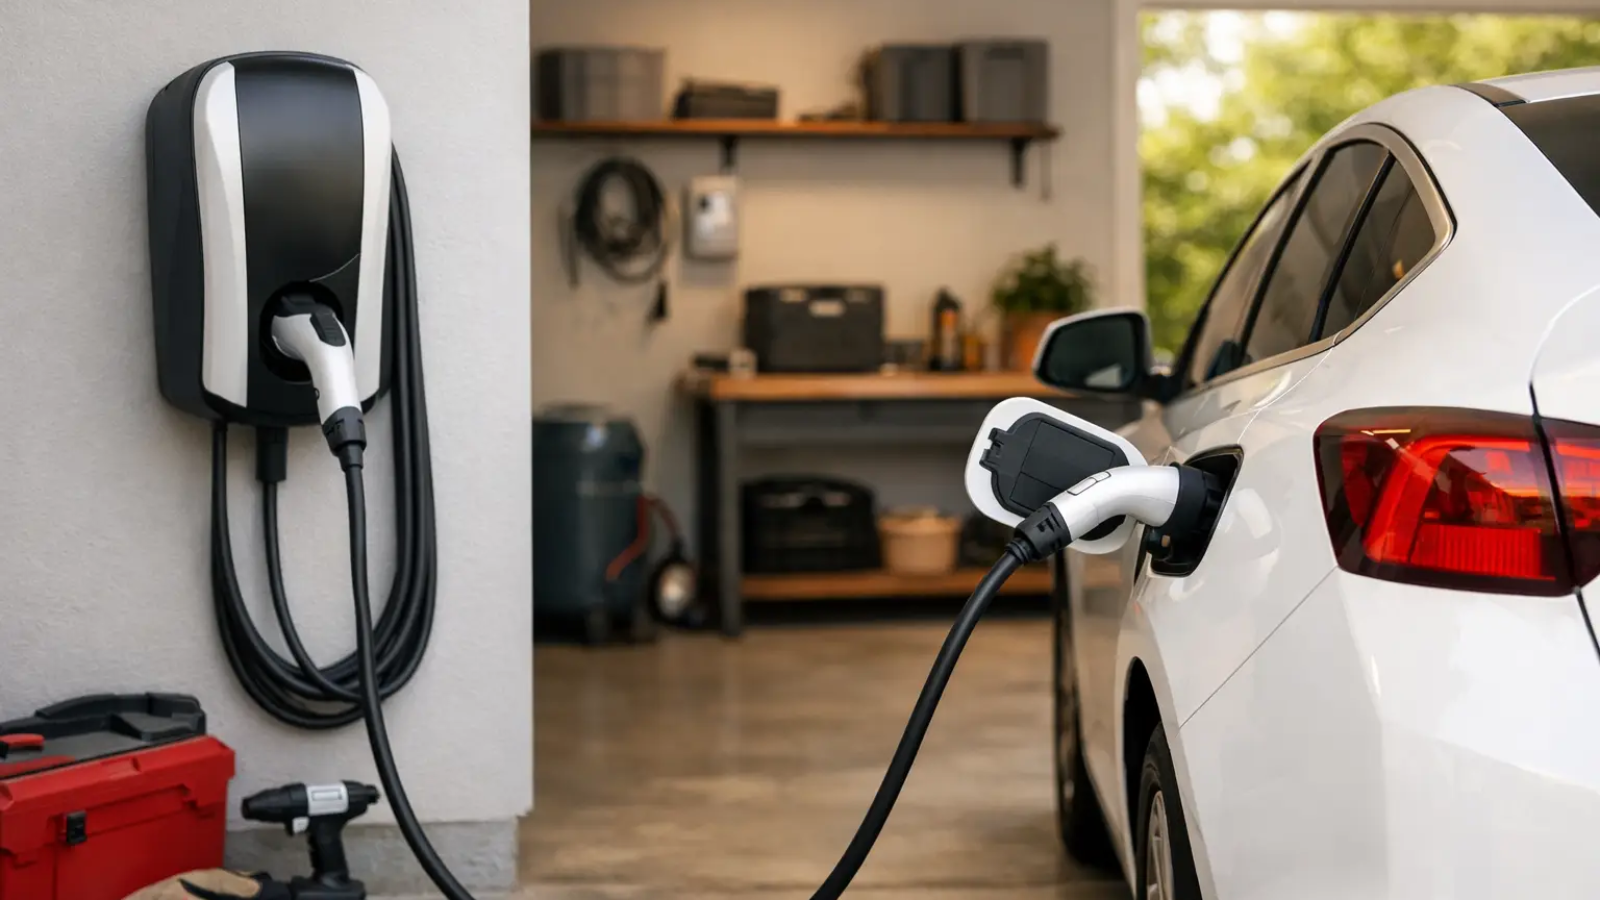
Your EV may arrive with a portable charging cable, but that does not mean your garage is ready for the charging routine you will actually want. To prepare your garage for EV charging, think beyond the outlet: electrical capacity, parking position, cable safety, local code requirements, and future energy plans all affect the result.
A well-planned home charging setup makes electric driving easier to live with. It can also protect your electrical system, avoid costly rework, and create a stronger foundation if you later add a second EV, solar panels, or battery storage.
Start With Your Daily Driving Needs
The right charging setup depends on how far you drive, how long the vehicle is parked, and whether the garage serves one vehicle or several. There is no reason to install more charging power than your routine requires, but undersizing the system can become frustrating quickly.
Level 1 charging uses a standard 120-volt outlet. It is often sufficient for drivers with short daily commutes who can plug in overnight and have reliable access to the garage. The trade-off is speed. Depending on the vehicle, Level 1 charging may add only a few miles of range per hour.
For most homeowners, Level 2 charging is the practical long-term choice. It uses a 240-volt circuit and can add substantially more range each hour, making overnight replenishment realistic after a busy day. It is especially useful for larger-battery EVs, households with variable schedules, and drivers who do not want to think about charging every night.
Before choosing a charger, look at your actual mileage for a typical week rather than a single unusually long drive. Also consider whether a second EV may be part of your household within the next few years. Preparing for that possibility now can be less expensive than reopening walls, upgrading a panel, or rerouting conduit later.
Check Whether Your Electrical Panel Has Room
The electrical panel is the starting point for any Level 2 installation. A charger needs a dedicated circuit sized for the equipment and installation conditions. It should not share power with a refrigerator, workshop equipment, HVAC system, or another high-demand appliance.
An available breaker space is not the same as available electrical capacity. Your home may have an open spot in the panel but still need a load calculation to determine whether the service can safely support an EV charger alongside air conditioning, electric cooking, water heating, laundry equipment, and other major loads.
A licensed electrician can evaluate the panel rating, current demand, wiring condition, grounding, and service capacity. In some homes, the charger can be installed without major changes. In others, a panel upgrade, service upgrade, load-management device, or lower-amperage charging configuration may be the sensible answer.
This is where future planning matters. If solar is on your roadmap, discuss it during the assessment. Solar does not remove the need for proper electrical design, but coordinating charger, panel, and solar planning can make the entire home energy system more efficient and easier to expand.
Hardwired or Plug-In Charging?
Many Level 2 chargers are available in hardwired and plug-in versions. A hardwired unit is connected directly to its dedicated circuit and is often a clean option for a permanent garage installation. It reduces reliance on a receptacle and may support higher charging outputs, depending on the equipment and local requirements.
A plug-in charger can offer flexibility if you expect to move or replace the unit. However, the outlet must be correctly rated for continuous charging use and installed to code. Avoid treating a heavy-duty EV charger like an ordinary appliance. Charging can run for hours, and every part of the circuit must be designed for that continuous load.
Choose a Charger Location That Works Every Day
The best charger location is not necessarily the closest point to the electrical panel. Start with where the vehicle’s charge port sits when parked. Some EVs place the port at the front, others at the rear, and the side can vary. A charger mounted on the wrong wall can leave the cable stretched across the garage or force an awkward parking routine.
Park the vehicle in its usual position and measure the distance to likely mounting points. Choose a location that lets the cable reach the port comfortably without being taut, dragging through water, or crossing a walkway. The cable should not create a trip hazard near doors, stairs, storage areas, or the route between the car and the home.
Wall-mounted chargers generally keep the cable organized and protected. If the garage layout requires a pedestal or post-mounted unit, make sure it is placed where it will not be struck by the vehicle, lawn equipment, or storage carts. Wheel stops, bollards, or a carefully positioned parking guide can provide inexpensive protection in tight spaces.
Keep the charger accessible, but do not mount it where it will be blocked by bicycles, bins, or seasonal storage. EV charging becomes most useful when plugging in takes seconds, not when the cable is buried behind garage clutter.
Prepare the Garage Environment
A garage is not always a controlled environment. It may be humid, dusty, hot, cold, or exposed to wind-driven rain near the door. Select equipment rated for the location and follow the manufacturer’s clearance and mounting instructions. If the charger will be installed outdoors or near an exposed driveway, weather rating becomes even more important.
Good lighting is a practical safety feature. You should be able to see the charge port, connector, cable, and pathway clearly at night. Consider motion-activated lighting if the garage is dim or if you often arrive after dark.
Clear combustible materials, leaking chemicals, and unnecessary clutter from the charging area. The charger itself is designed for the job, but the surrounding space should still be orderly. A cable hook or integrated cable management system keeps the connector off the floor and reduces wear over time.
If your garage doubles as a workshop, pay attention to dust and tool traffic. Grinding, painting, and other messy work may call for a charger location away from the active work zone. This is less about making the garage look perfect and more about protecting equipment you will use almost every day.
Plan for Permits, Codes, and Professional Installation
EV charger installation is an electrical project, not a weekend extension-cord solution. Many jurisdictions require permits and inspections for a new 240-volt circuit, panel work, or hardwired charging equipment. These steps help verify that the circuit, breaker, wiring, grounding, and equipment installation meet applicable safety standards.
Requirements vary by city, county, and utility territory. A qualified installer can explain what applies to your property and handle the work accordingly. If you live in a condominium, townhome, rental property, or homeowners association community, you may also need approval before running wiring, altering common areas, or installing outdoor equipment.
Do not use extension cords for routine EV charging, and do not rely on adapters that are not specifically approved for your vehicle and charging equipment. Heat buildup at poor connections is a preventable risk. A properly installed dedicated circuit costs more upfront than an improvised workaround, but it is the safer and more dependable path.
Make Room for Smarter Energy Use
An EV charger can be more than a source of electricity. Many connected chargers let homeowners schedule charging during lower-cost utility periods, track energy use, and manage access when multiple drivers share the equipment. These features can help turn charging into a predictable household energy habit rather than another unknown on the utility bill.
Time-of-use rates are worth checking before you set your default schedule. In some areas, charging overnight costs less than charging during peak evening hours. The savings depend on your utility plan, your driving pattern, and how much flexibility you have, so compare the numbers rather than assuming every off-peak plan is automatically better.
For solar-equipped homes, daytime charging can be appealing when solar production is high. Yet it may not fit the way you use the car. If the vehicle is away during the day, overnight off-peak charging may still be the practical choice. A thoughtful setup gives you options instead of locking you into one energy strategy.
Prepare Your Garage for EV Charging With Growth in Mind
When you prepare your garage for EV charging, the goal is not simply to install a box on the wall. It is to create a dependable home energy connection that fits your vehicle, your property, and the cleaner transportation choices ahead.
Ask your electrician about installing conduit sized for future wiring, even if you begin with one charger. Consider the panel capacity needed for a second vehicle, solar, or battery storage. Small decisions made before drywall is repaired or trenching is complete can preserve flexibility for years.
The best garage charging setup is the one you barely have to think about: you park, plug in, and wake up ready to go. That everyday ease is where thoughtful electrical planning starts to feel like real progress.
Add a Comment