
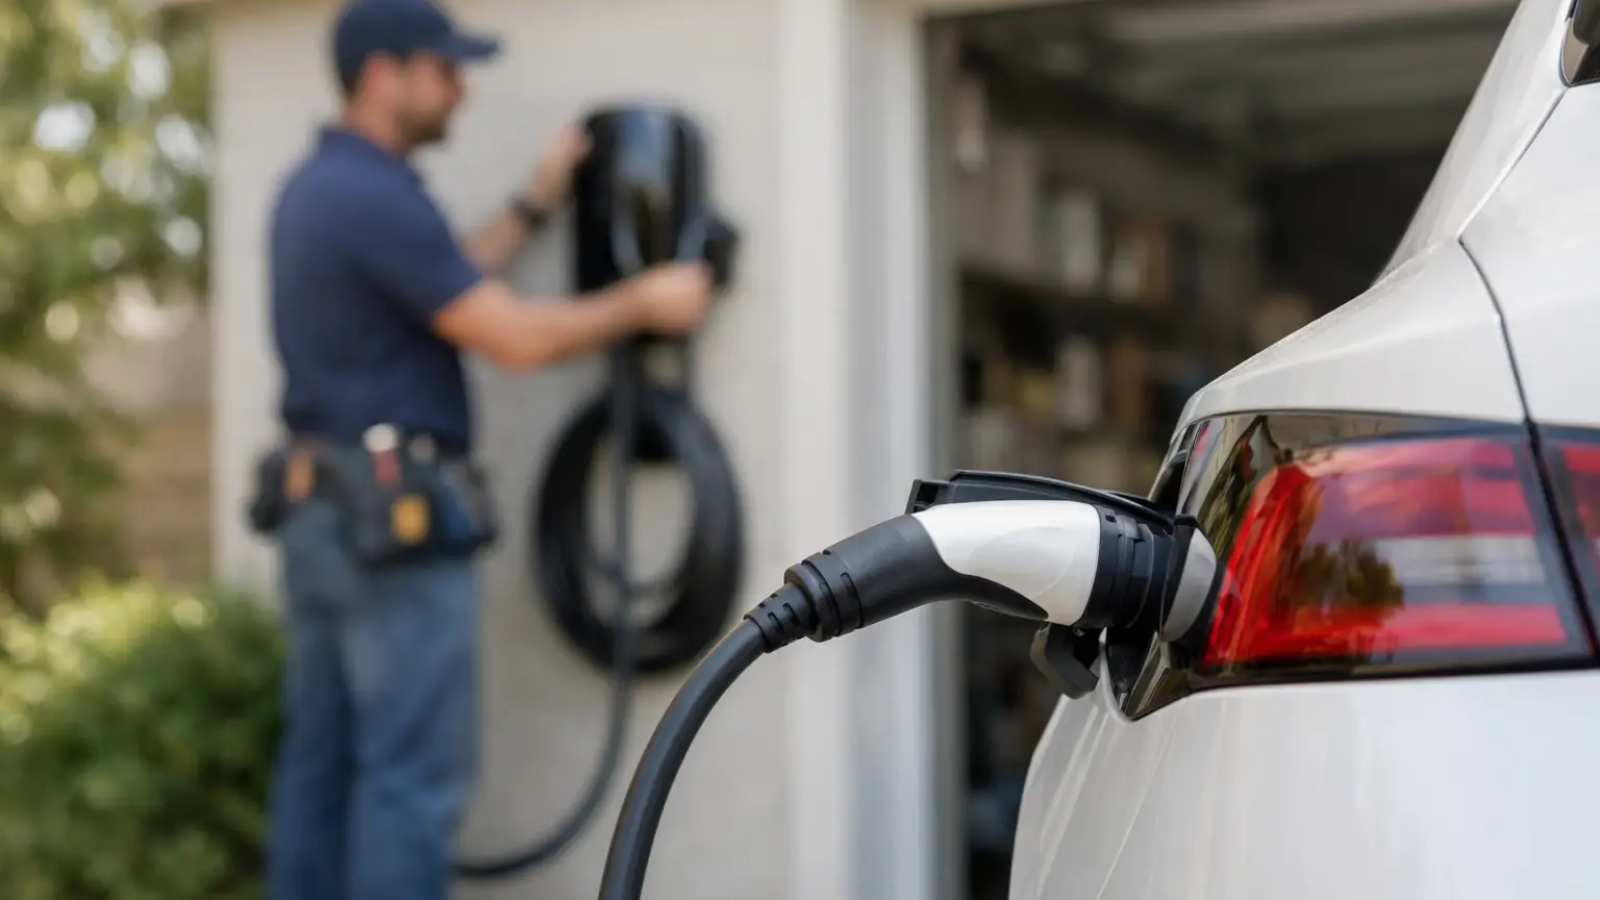
A home EV charger changes the rhythm of EV ownership. Instead of planning stops around public stations, you return home, plug in, and start the next day with the range you need. This home EV charger installation guide explains what happens before the charger goes on the wall: assessing your electrical capacity, choosing equipment that fits your driving habits, and working with a qualified electrician to install it safely.
For most households, charging at home is the simplest and most cost-effective way to power an electric vehicle. The right setup can also support bigger clean-energy goals, especially if you plan to add solar panels, a home battery, or another EV in the future.
Start with your vehicle and driving routine
The first decision is not which charger looks best. It is how much charging speed you actually need. Your vehicle’s battery size, onboard charging capability, daily mileage, and time parked at home all matter.
Level 1 charging uses a standard 120-volt household outlet. It is slow, often adding roughly 3 to 5 miles of range per hour, but it can work well for plug-in hybrids or drivers with short daily commutes and long overnight parking windows. It usually requires no dedicated charging equipment beyond the portable cord supplied with the vehicle, although the outlet should be inspected if it will see frequent use.
Level 2 charging uses 240 volts, similar to a clothes dryer or electric range. Depending on the vehicle and charger, it commonly adds 20 to 40 or more miles of range per hour. For a fully electric vehicle, Level 2 is generally the practical choice because it restores a typical day of driving overnight and gives you more flexibility when plans change.
Fast DC charging is useful for road trips and public charging hubs, but it is rarely a realistic residential installation. It requires much more electrical capacity, specialized equipment, and a budget that does not make sense for most single-family homes.
Check your electrical panel before choosing a charger
A charger is only as capable as the electrical system behind it. Before buying equipment, ask a licensed electrician to inspect your service panel, available breaker space, grounding, wiring route, and overall household load.
Many newer homes with 200-amp service can accommodate a Level 2 charger without major work. That is not a guarantee. A home may already have high-demand loads such as electric heating, air conditioning, a heat pump, an induction range, a hot tub, or a workshop. Older homes may have 100-amp service, panels that are full, or equipment that needs replacement.
An electrician should perform a load calculation rather than relying on the panel’s amp rating alone. This calculation estimates how much electricity the home is likely to use at peak demand and whether the added charging circuit can be safely supported. It may reveal that a 40-amp charging circuit is appropriate, while a larger 60-amp circuit would require load management or a service upgrade.
Smart load management can be a useful alternative to expensive electrical upgrades. Some charging systems can reduce or pause charging when household demand rises, then resume when capacity is available. This approach can be especially valuable in homes where service upgrades are difficult, costly, or delayed by utility work.
Choose the right Level 2 charger
A Level 2 charger should be matched to both your vehicle and your home. The charger does not force power into the vehicle. It communicates with the vehicle, which draws only the amount it can accept. Still, selecting the right amperage affects charging time, circuit requirements, and future flexibility.
A 32-amp charger on a 40-amp circuit is sufficient for many drivers. A 48-amp charger generally needs a 60-amp circuit and can be a sensible choice if your vehicle accepts higher charging rates or you expect to replace it with a larger EV later. Electrical code requires continuous loads such as EV charging to be sized with headroom, so a charger should not draw more than 80% of the circuit rating.
Look for equipment listed by a recognized safety testing laboratory and designed for the installation environment. A garage installation has different needs from an outdoor driveway or carport. Outdoor units should have an enclosure rating suited to rain, dust, heat, and local weather conditions.
Smart features deserve a practical look. Wi-Fi connectivity can help you schedule charging during lower-cost utility periods, monitor energy use, and receive software updates. It can also add convenience for households with solar. However, a reliable charger should still perform its core job if your home internet connection drops. Features are useful only when they support dependable daily charging.
Hardwired or plug-in?
A hardwired charger connects directly to a dedicated circuit. It is often the cleanest, most durable option for permanent outdoor installations and can support higher charging output. It also removes one potential point of wear from frequent plug-and-unplug use.
A plug-in charger uses a 240-volt receptacle, commonly a NEMA 14-50 outlet. This can make it easier to take the charger with you when moving or replace the unit later. The trade-off is that the receptacle, plug, and installation quality must be suitable for continuous high-current use. A standard outlet intended for occasional appliance use may not be the best long-term choice for daily EV charging.
Plan the charger location and cable path
The ideal charger location is close enough to the vehicle’s charging port that the cable reaches comfortably without stretching across a walkway. Check where the port sits on your current EV and consider how a future vehicle may park. A charger mounted between two garage bays, for example, can be more versatile than one placed at the far end of a single wall.
The electrical route affects cost. A charger installed near the panel in an attached garage may be relatively straightforward. Running conduit across a large home, through finished walls, under a driveway, or to a detached garage can add significant labor and materials. An on-site estimate is more meaningful than a generic online price range for this reason.
Think about everyday use as well. Leave enough space to coil the cable neatly, protect the connector from impacts, and avoid trip hazards. For outdoor charging, consider drainage, sun exposure, snow clearance, and physical protection from vehicles. A simple bollard or wheel stop may prevent an expensive mistake in a tight parking area.
Permits, inspection, and installation day
A professional installation typically includes a dedicated circuit, correctly sized wire, appropriate breaker protection, a disconnect where required, secure mounting, and testing. Local code requirements vary by city and county, so permits and inspections are not paperwork to skip. They provide an independent check that the work is safe and can matter to insurers, future buyers, and homeowners associations.
Before installation, confirm who will handle the permit, whether the utility needs to be involved, and what the final price includes. Ask about panel upgrades, trenching, drywall repair, outlet replacement, permit fees, and inspection coordination. Clear scope prevents surprise costs.
On installation day, the electrician should verify voltage, grounding, breaker sizing, and charger operation. Once energized, test the charger with your vehicle and confirm that the charging rate is consistent with the equipment and vehicle settings. If the charger has scheduling controls, set them up after the electrical work is complete.
Manage costs with charging schedules and incentives
The installation cost depends mostly on electrical complexity, not just the price of the charger. A short run from a modern panel can be modest, while a service upgrade or detached-garage trench can change the project substantially. Get a written estimate that separates equipment, labor, permits, and any optional upgrades.
Your utility may offer time-of-use rates that make overnight charging less expensive than charging during peak evening hours. Scheduling is also helpful for the grid, since it shifts demand to periods when electricity is more available. If you have solar, remember that daytime production and nighttime charging do not always line up. Net metering rules, battery storage, and utility rates determine whether charging directly from daytime solar or using scheduled off-peak power offers the better value.
Federal, state, local, utility, and manufacturer programs can change frequently. Check current eligibility before making a purchase, and keep invoices, permit records, and product documentation. Some programs have location, income, equipment, or installation requirements that must be met before work begins.
Build for the next stage of clean energy
A home charger is a long-term piece of energy infrastructure, not just an accessory for one vehicle. If you are considering solar, a battery, electrified heating, or a second EV, mention those plans during the electrical assessment. Designing for future loads may cost more now, but it can reduce disruption and duplicate work later.
The best installation is not always the highest-powered one. It is the setup that fits your home safely, charges reliably when you need it, and leaves room for the cleaner, more efficient household you are building.
Add a Comment