
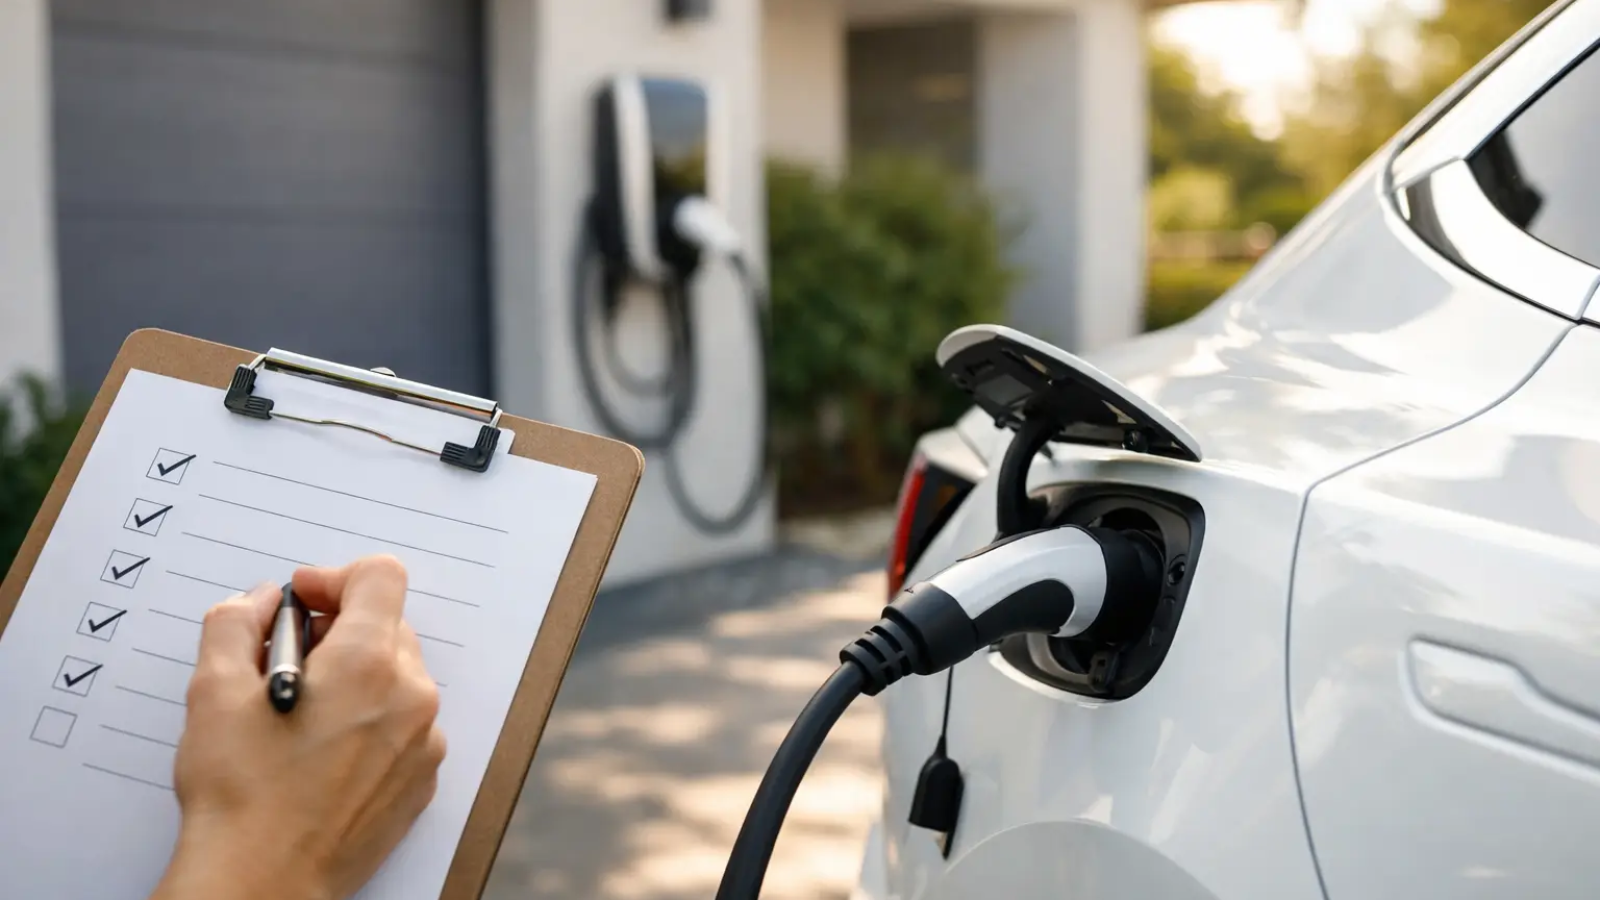
A home charger can make EV ownership feel dramatically simpler: pull in, plug in, and wake up with the range you need. But the best results start before a charger is selected. This EV ready home checklist helps you assess your electrical capacity, parking setup, daily driving needs, and future energy goals so your installation supports cleaner transportation for years to come.
Start With Your Driving Routine
Home charging does not need to replenish a full battery every night. For most drivers, the goal is to replace the miles used during a typical day. That distinction affects the charger speed you need, the electrical work required, and the cost of the project.
Think about your weekly mileage, how long the vehicle is usually parked at home, and whether you take frequent long trips. A driver who travels 25 miles a day and parks overnight has very different needs than a household with two EVs, irregular shift schedules, or a long daily commute.
Level 1 charging uses a standard 120-volt outlet and can be useful for low-mileage drivers or plug-in hybrids. It is the simplest starting point, but it adds range slowly. Level 2 charging uses a 240-volt circuit and is the practical choice for many full battery-electric vehicles because it can restore substantially more range overnight.
Charging speed should fit the vehicle and your life, not just the largest number on a product label. A higher-powered charger may be worthwhile if your vehicle can accept that power and your electrical panel has room. Otherwise, a right-sized installation can be more cost-effective while delivering the same everyday convenience.
EV Ready Home Checklist: Assess the Electrical System
Your electrical service is the foundation of a safe home charging setup. Before purchasing equipment, have a qualified electrician evaluate the main service panel, current loads, available breaker space, and the distance between the panel and the intended charger location.
A charger requires a dedicated circuit. The circuit size depends on the charger’s continuous load, and electrical codes generally require continuous loads to be calculated at 125 percent. In practical terms, a charger drawing 32 amps typically needs a 40-amp circuit. Installation decisions should always follow local code requirements and the charger manufacturer’s specifications.
Older homes may need more planning. A panel can appear full even when an upgrade is not immediately necessary, and a larger service does not automatically mean a better outcome. An electrician may identify options such as load management, subpanel work, or a lower-amperage charger that still meets your overnight charging needs.
Ask for a clear assessment of four areas:
- Main service capacity and expected household demand
- Open panel space and the condition of existing equipment
- The dedicated circuit size recommended for the charger
- Whether load management or a service upgrade is needed
This assessment matters even more if your home already has major electrical loads such as central air conditioning, electric water heating, induction cooking, a heat pump, or a pool. Electrification is a positive step, but it works best when the home’s energy use is planned as one connected system.
Choose Hardwired or Plug-In Installation
Many Level 2 chargers are available in hardwired and plug-in versions. A hardwired charger is permanently connected to the circuit and can offer a clean, durable installation, especially outdoors. It also avoids reliance on a receptacle that may wear over time.
A plug-in charger can be convenient if you expect to move, replace equipment, or take the charger with you. However, the outlet must be properly rated for continuous high-current use and installed to code. This is not a place to cut corners with an aging outlet, an extension cord, or an adapter not approved for EV charging.
The right choice depends on your property, charger location, and long-term plans. In either case, professional installation protects your equipment, your vehicle, and your home.
Plan the Parking and Charger Location
The shortest cable run is often the least expensive, but location should also make charging easy every day. Consider where the vehicle’s charge port sits, how you pull into the garage or driveway, and whether the cable can reach without crossing a walkway or creating a trip hazard.
For a garage installation, place the charger where its cable can comfortably reach the vehicle without being stretched, kinked, or left on the floor. For driveways and carports, use equipment rated for outdoor conditions and consider physical protection from weather, vehicle contact, and accidental damage.
Cable management is more than a finishing detail. A holster or cable hook helps keep the connector clean and reduces wear. If children, pets, visitors, or delivery traffic move through the area, a tidy setup is also safer.
Homeowners should also think ahead. A charger installed for one vehicle today may need to serve a second EV later. If trenching, panel work, or wall access is already part of the project, it can be smart to prepare conduit or capacity for future expansion. The added planning cost can be modest compared with reopening finished surfaces later.
Select Features That Match Real Use
Smart chargers can provide useful visibility into energy use, scheduled charging, and charging history. These features can help households charge during lower-cost utility periods where time-of-use rates are available. They can also make it easier to understand how EV charging fits into overall household electricity consumption.
Still, connected features should serve a purpose. If your utility has a flat rate and you prefer simple operation, a reliable charger with straightforward controls may be all you need. If electricity prices change by time of day, smart scheduling can become more valuable.
Look for equipment certified by a nationally recognized testing laboratory and suited to its installation environment. Check the cable length, connector compatibility, warranty terms, network requirements, and whether essential charging functions remain available if Wi-Fi is temporarily unavailable.
For households considering solar, EV charging creates an opportunity to use more clean electricity at home. Solar production is usually strongest during the day, while many vehicles are parked at home overnight. That does not make solar and EV charging a mismatch. It simply means you should consider your utility rate structure, battery storage goals, work-from-home schedule, and ability to shift some charging into daylight hours.
A solar system can offset the electricity used for charging over time, while managed charging can help align consumption with lower-cost periods. The best strategy depends on local policies and how your household uses energy across the day.
Check Permits, Incentives, and Installation Scope
Permits and inspections are often required for a Level 2 charger installation. They are part of a safe process, not unnecessary paperwork. A permitted installation helps verify that wiring, breakers, grounding, and equipment placement meet local requirements. It can also be valuable for insurance documentation and future home sales.
Before work begins, ask the installer what is included in the quoted scope. A complete estimate should clarify panel work, circuit length, trenching if needed, wall repairs, permit fees, inspection coordination, and any equipment required for load management. Comparing estimates is easier when each proposal describes the same assumptions.
Also check for utility, state, local, or federal programs that may reduce the cost of eligible charging equipment or installation. Program rules can change, and eligibility may depend on location, income, equipment certification, or installation timing. Confirm details before making a purchase decision rather than assuming an incentive will apply.
Build for the Home You Will Have Next
An EV-ready home is not defined by the fastest charger or the biggest electrical upgrade. It is a home where charging is safe, convenient, appropriately sized, and ready to evolve with the household.
For a detached home, that may mean a dedicated Level 2 circuit and a smart charger near the garage. For a townhouse, it may involve coordination with an HOA or shared parking rules. For a multi-EV household, load management can help distribute available capacity intelligently without immediately increasing service size.
Charge & Go approaches home charging as part of a broader clean-energy decision. Your charger, electrical panel, daily driving, and potential solar system should work together rather than compete for attention or capacity.
Start with a qualified electrical assessment, then choose the equipment and features that suit your actual routine. A thoughtful installation turns charging from another task on the calendar into a dependable part of how your home powers cleaner travel.
Add a Comment